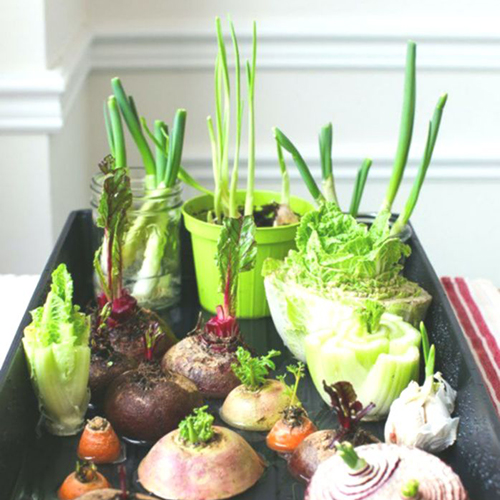
On average, we seem to consume more than we produce. Growing your own food can seem daunting and costly at first – however this is far from the truth. By using your food scraps, you can create food for virtually no money.
The BBC states that an estimated 6.6 million tonnes of food in the UK is being wasted each year. This ethical way of growing plants helps us broaden our relationship with the life cycle of food and nature, helping to tackle the evident food wastage issue. This blog is going to show you how to grow food from food scraps you would usually throw away!
Some methods require the purchase and use of plant pots and soil. A loose potting or peat-free soil is suitable for most methods.
The following methods are simple ways to reduce our food waste in a productive way!
Green Onions
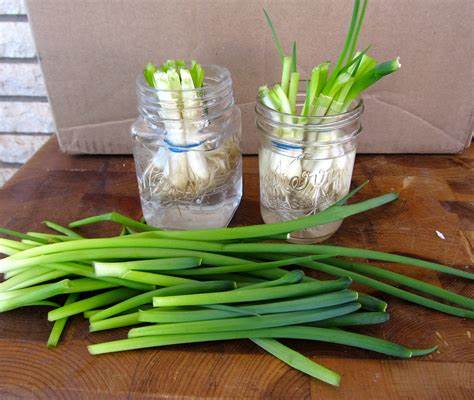
Green onions are arguably the easiest and most popular vegetable to regrow. All you need to do is the following:
- When cutting the green top off the spring onion, leave approx. 3-5cm of the white root base.
- Place this white root section into a jar and fill with water until half of the plant is submerged.
- Leave in a bright spot and change the water every other day.
- Harvest directly from the jar when ready!
Leeks
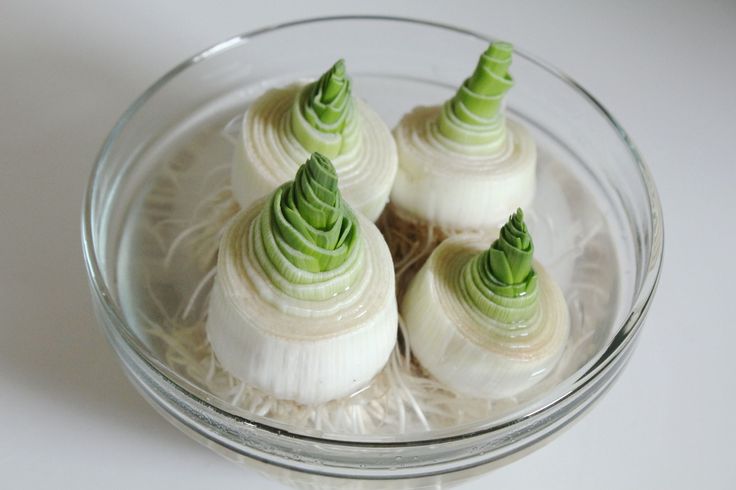
Following the green onion method above, you can regrow your leaks! Although, be patient as they may take slightly longer due to their size. Leave a couple of inches from the bottom and place them in a bowl of water.
Celery
Celery can also be regrown from the base of a mature plant.
- Cut all celery stems off, leaving 3-5cm of stem at the root section.
- Place this root section in a bowl with warm water.
- Place the cutting in a warm and bright position, making sure to change the water every other day.
- When the celery sprouts new leaves, you can then plant it out into soil.
- Harvest when the plant has large, healthy looking stalks.

Romaine Lettuce, Bok Choy & Cabbage
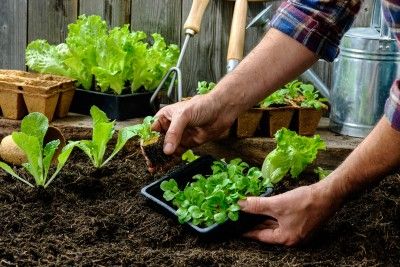
Lettuce is as easy to regrow as celery! Lettuce leaves can be regrown from saving the root section at the bottom of the lettuce. This propagating technique works best with Little Gem or Romaine varieties.
- Cut lettuce leaves until 3-5cm of height is left on the root section
- Place it in a bowl until the roots are submerged
- Leave in a bright position and change the water every other day.
- After two weeks, the lettuce should have sprouted new leaves and roots, when this happens, plant the cutting out into potting soil for prolonged growth.
- Harvest when the leaves grow to baby leaf size (10cm).
Carrots Tops
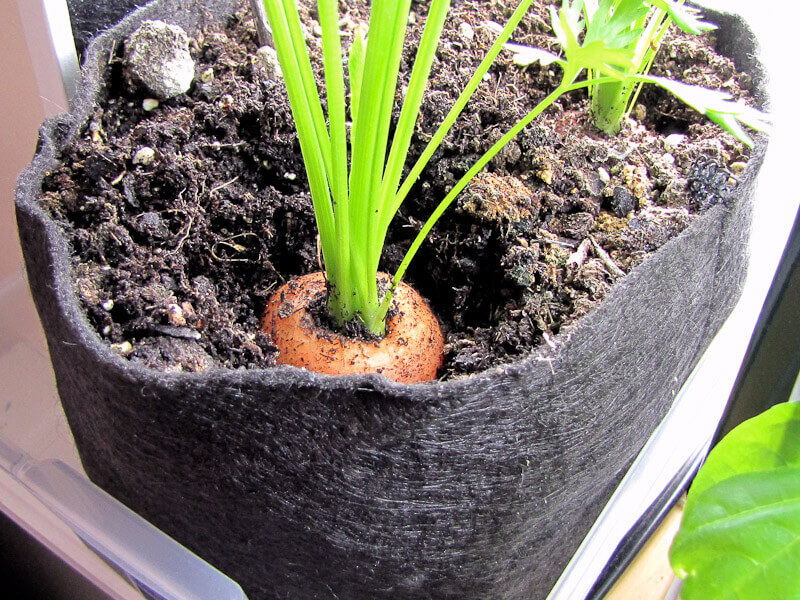
Regrowing carrot tops allows for plenty of creative dishes –quirky pesto, soup, or even saute. Simply leave the top of the carrots–with a bit of the carrot attached–in bowl or container with water and place them where they can receive adequate sunlight. Now watch them grow!
Sweet potatoes
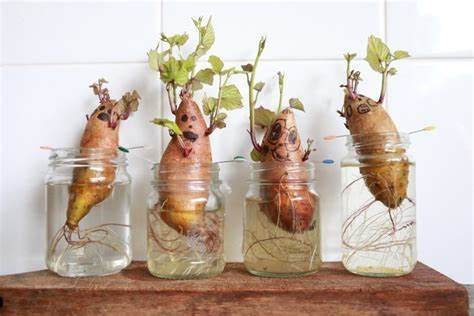
We have recently seen a trend of people growing sweet potatoes for their leafy vines to provide botanical decoration. Well, you can also propagate them to create new potatoes! It may take some patience, but Sweet Potatoes are easy enough to grow. Unlike normal potatoes, sweet potatoes, require ‘slips’ firstly; these are groups of stems and roots which grow from nodes on the potato. It is best to start this process indoors between February and April and wait until after the last frost to plant.
- Pierce the middle of the sweet potato. Add lots of water into a jar and place it in with the facing upwards at the top (this is the pointy end).
- Leave in a bright spot and change the water regularly.
- Roots, stems and leaves will begin growing from nodes called eyes on the potato over the next few weeks.
- When the slips have grown substantial roots and stems, you can break it off the sweet potato and plant into soil indoors, potting it on as it gets larger.
- Plant them outdoors after the last frost (end of May - June). Growing them in the ground during the summer is advised because the tubers can get quite big!
- Harvest in the autumn or when leaves begin to turn yellow and die-back.
Potatoes
You know the drill. Simple leave your spud in a dark corner, forget about it, and it’ll just sprout. You can also cut a potato in half, where you will see the dents on the skin, plant the potatoes with the dents facing up in soil.
Basil, Mint, and Cilantro
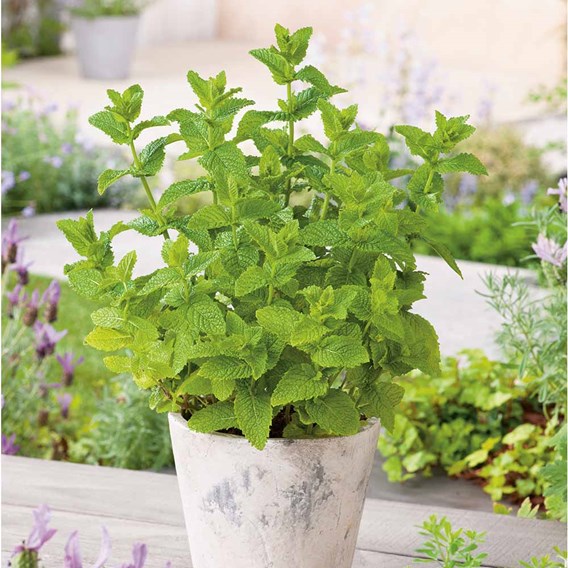
Leave about 2-3 inches of the stem. Place the stems upright in a glass of water. When the new roots begin to appear, transfer the herbs into a pot of soil and watch them grow!
Pineapple
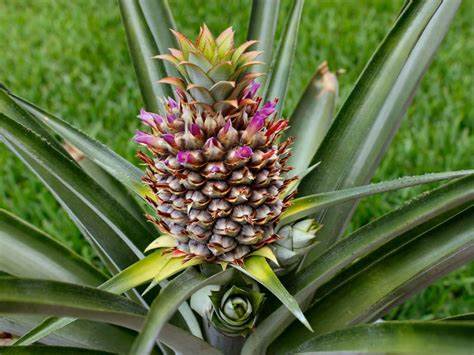
Although not a vegetable we thought we would throw this one in! It just takes a bit of patience – approximately two years to be precise, but we think the thought of your very own pineapples is just too intriguing not to suggest!
Grab hold of the pineapple crown by the leaves and twist and pull. The stalk should remain intact. Expose the stalk by removing some of the lower leaves.
Leave the pineapple crown in a glass of water and allow new roots to form, transferring to a soil-filled pot or container once grown. Test the plants strength by gently pulling, should the pineapple have some resist this means you’ve successfully propagated a pineapple and you should move onto pineapple plant care.
That’s it! There really is something satisfying and gratifying about regrowing half-consumed vegetables and fruit – plus it certainly saves some pennies! We suggest performing these propagating experiments as competitions with your little ones to teach them the values of food and bring them closer to nature.
Have you tried regrowing your own vegetable scraps?
Share with us your experiences!
Good luck!
Blog post by Lucy Canoel


